Friday, September 28, 2012

Apple Crisp

What is another dish that uses up lots of apples? Apple Crisp! Found this recipe on Allrecipes.com and it seemed worthy with all the reviews and rankings. So why not?!

This used 8 apples, almost 10 cups worth!

Apple Crisp
makes 12 servings

Dice/slice/chop the apples and put them in the 9x13 pan.
Combine 1 cup sugar, 1 tablespoon flour, 1 tsp ground cinnamon
   Note: recipe calls for 1/2 cup of water. We used it, it was very soupy. I would omit next time.
Combine 1 cup oats, 1 cup flour, 1 cup packed brown sugar, 1/4 tsp baking powder, 1/4 baking soda, 1/2 cup melted butter. Pour this mix over the apples. (Forgot to take a picture!)

Bake at 350F for about 45 minutes. It will be golden on the top and bubbling at the bottom.

Serve warm with whipped cream or ice cream!

Thursday, September 27, 2012

Mini Apple Pies

Made these last year and received some good reviews. So I brought it back for this year. Last year I was trying to find a good apple pie recipe and there are just so many out there! I looked and looked but just decided to pick this one.

This pie recipe is so easy! The crust is all made in my stand mixer, chilled for an hour. During that time I prep the apples. Chop em, cover them in cinnamon, sugar, and butter. When the dough is all set, roll it out, put it in the pie plate and then put in the apples.

For the mini apple pies, I used the left over topping from the Apple Strudel Muffins and some of the remaining dough. Last year I used Paula Dean's Crunch Topping to top some of the pies. (Also check out the apple crisp!)

Apple pie is a choice your own adventure, you can make so many different combos of toppings, crusts, sizes, and glazes.
Roll out dough (thinner than you would for regular pie), cut out circles for the muffin tins

Lines muffin tins, insert the dough
Add filling!!

Top with crumble, dough, or whatever you want!
Update 3/29 - Yum! I halved the recipe and oh man, in less than an hour we had hot fresh apple pies!

these little glass dishes were GREAT for this!


so flaky and yummy!!!!
updated 10/13/2015:


Apple Pie
makes 1 pie

Crust
2 1/2 cups flour 380g
1 tsp salt
2 tbsp sugar
1 cup butter
1/4 - 1/2 cup ice water

Filling
7 medium apples 780g, 3 granny smith, macintosh
1/2 cup sugar
1 tbsp lemon juice
1 tsp cinnamon
1/4 tsp salt
2 tbsp butter, melted
1 tbsp + 1 tsp cornstarch

In mixer (or food processor) combine flour, salt, sugar. Add butter and combine until it looks like coarse sand. Then slowly add the water. You are waiting for the dough to just come together in a ball. Wrap it in plastic wrap and refrigerate.

Meanwhile, slice the apples. Diced for smaller pies and larger slices for regular size pies. Combine with the rest of the filling ingredients and stir to combine. Cook on the stove for 5-8 minutes then put to the side to cool. 

Take the dough out of the fridge and flour the surface.

Now you have some options...

Hand Pies
Roll the dough very thin and use a bowl or really large cookie cutter into a circle. Fill one side with a couple tablespoons of the filling and fold in half. Pinch the edges together. Tip: cut the apples on the smaller side.

Mini Pies
(cupcake tins or glass pyrex dishes which are great because then you can serve them that way or pop covers on them for later!)
Roll the dough thinner than if you are making one big pie. Cut out a circle that is about 4 inches. This is big enough to go in the bottom of the muffin tin. I used cupcake papers to line the tins. Put the dough into the tin, add the filling, top with another thin piece of dough/crumble topping/strudel topping. Note: You can also place strips of parchment paper in the bottom of the cupcake tin and place the bottom layer of dough over that. When the pie is done baking you can use the strips as handles for taking them out of the tins.

9 Inch Pies
Roll the dough on a well floured surface. You can use the rolling pin to help you get the dough over the bottom. Place into the bottom of the pan, add filling, cover with more rolled dough, crumble topping, or strudel topping, etc. If you top with another piece of rolled dough be sure you put a slit into it so the steam can vent and the pie won't bubble over.

After the pies are assembled I do a milk wash (pour some milk in a bowl and use a pastry brush to "paint" the pie crust) and sprinkle with some sugar.

Bake at 425 for about 15 minutes and then drop to 350 for 30-40 minutes. The crust will be golden. Let the pie cool for a bit because the large ones won't slice well and the smaller ones will make you think you just ate lava.

Wednesday, September 26, 2012

Apple Strudel Muffins

One thing you'll learn about me, is that when I cook or bake, it is not in moderation.

I went apple picking with some friends today and we decided we needed the large 20 lb bag to fill with apples and we would split it between 3 of us. This is an absurd amount of apples. Then we acquired another bag so now we have 2 large bags (potentially 40 lbs) to fill with apples. Entirely unnecessary. And yet... SO FUN! I highly recommend apple picking if you haven't been in a few years.

Also, if you don't have one, you should probably invest in an apple slicer/corer/peeler. They are about $15 - $20 and you can buy one at a store like Bed, Bath and Beyond. I'm guessing this goes in the Beyond section of the store. Yes, I went there. :)
So we came back to my apartment to do some serious baking. In about 4 hours we made 2 double batches of Apple Strudel Muffins, a big pan of Apple Crisp, and 2 dozen Mini Apple Pies.

Apple strudel muffins was a recipe I found last year when I went apple picking and found myself in the same situation. These were a special request to make again! This is a simple muffin recipe found online.

Some things to note: this is a thick cake type batter, it won't rise very much. We also reduced the sugar to 3/4 cup from 1 cup.
Wet ingredients
Added in dry ingredients and apples
Regular size and mini size muffins

Apple Strudel Muffins
makes 12-15 normal size muffins

2 cups flour
1 tsp baking powder
1/2 tsp baking soda
1/2 tsp salt
1/2 cup butter
3/4 cup sugar
2 eggs
1 1/4 tsp vanilla
1 1/2 cups chopped apples (about 2 large apples)

Topping
1/3 cup packed brown sugar
1 tbsp flour
1/4 tsp ground cinnamon
1 tbsp butter

Preheat over 375F. Prepare muffin tins with papers or grease them
In a bowl mix flour, baking powder, baking soda, and salt
In the mixer bowl beat together butter, sugar, and eggs until smooth. Mix in vanilla. Stir in apples. Slowly add in flour mix.
Spoon the batter into the tins.
In bowl or food processor, cut butter, brown sugar, flour and cinnamon until coarse crumbs. Sprinkle over the tops of the muffins.
Bake about 20 minutes or until toothpick comes out clean.


Tuesday, September 25, 2012

Cream of Chicken Soup

Winter is coming!! And I want to add to my soup repertoire (?). I found this recipe on Pinterest. We all know I'm not very good at following directions... but I also imagined it to be thick like a chowder which was not correct so I made some changes to make it what I wanted it to be. The verdict? A yummy thick soup.

Next time, I'll add potatoes. I think I would dice up the potatoes, and put them in a few minutes after I put in the carrots and celery.

First I prepped the chicken since directions called for it to be cooked in the oven. However, this takes way too long. Next time, I'll dice it up and cook it in the pot. Less dishes too. Love that! Or use a rotisserie chicken and toss the chicken in at the end. Now that would just make things too easy...
 
While the chicken was cooking I sliced up the onions, carrots, and celery. I did a lot of celery because I wanted to use the whole bunch up.
 Melt some butter.
When butter is hot and foamy add in the veg! Saute onions, carrots, and celery in the melted butter.
 Once softened add the flour. Stir it around well so it coats all the veggies. (My chicken wasn't cooked all the way so I threw it in the pot to let it all simmer together.)
Add chicken broth and milk. (I forgot chicken broth...and used the dried bullion cubes, I think that is why it looks so yellow in the picture).
 Top with some green onions/scallions and serve!


Cream of Chicken Soup
Serves 2-3

2 tbsp butter
2-3 cups of diced onion, carrots, celery
2 chicken breast (about 1 pound)
Salt & Pepper
1/2 cup flour (I wanted it thicker)
1 bay leaf
1 tsp poultry seasoning (recipe calls for 1/2 tsp thyme, but I don't have it)
2 cups chicken broth
2 cups milk
2 tbsp heavy cream (omitted because I forgot to buy it)

Melt butter in a big pot. Add onion, carrots, and celery and cook about 3 minutes. Add bay leaf and poultry seasoning, salt & pepper and cook until soft. (Add diced chicken if you are using raw, let it cook most of the way, about 5 minutes)

Add flour and cook another 2 minutes to make sure everything is coated and butter is absorbed in to it.

Add chicken stock and milk. Let simmer about 20 minutes while soup thickens. Add shredded chicken and then add cream. Top which fresh green onion.

Saturday, September 22, 2012

Cheesecake Factory Knockoff: White Chicken Chili

What can you get with 30 minutes, some rotisserie chicken and a few canned ingredients? One of my favorite recipes chili recipes!

I've made it a few times a year the past 3 years. It also freezes well. It is a very spicy, thick, creamy, chili with beans and shredded chicken. Unlike most chili, this can also be made in less than a half hour. If you have ever had the White Chicken Chili and Rice at the Cheesecake Factory, this is this is a copy recipe of it. I Googled several recipes and combined them into what you see below!
Onions and Spices

Please keep in mind, every time I make this something changes. It has been quite some time since I had it in the restaurant so I have no idea if this is still that close it!

Options for the chicken:
If you have left over rotisserie chicken, shred some up and use that (or just buy one, so many uses!). It cuts down the cooking time drastically. If you don't have any, put in the uncooked chicken breast a minute or two after you put in the spices. Let the chicken cook most of the way before adding the beans and broth. With the uncoooked chicken you have some options. You can cube the uncooked chicken, it will cook fast and still fit in that half hour range. Or use larger chunks and let it simmer for longer and then take it out to shred. Personally, which ever cooking method, I like the texture of it shredded than chunks.
Shredding the chicken

This time I also had 1% milk instead of heavy cream since I wanted it for other recipes. I didn't notice a difference that I could remember! So if you are calorie counting, go for it!

If too spicy or not thick enough: I always add in a few cups of rice. The rice thickens it up but also kills some of the heat. The presentation when serving would be a pretty blop of rice in the middle of the bowl. I just dump it in. This is great for left over rice. If not put the rice on to cook before you start, it will be done by the time the chili is done!

Changes? I always make changes, more or less the recipe below is what I follow. If it is too spicy (which I've done when I'm not paying attention...) add in sour cream a tbsp at a time, stir in and let cook several minutes to let the sour cream do its thing.

This freezes well and is easy to make double or halve.


White Chicken Chili
Serves 4-8

2 tbs oil
1 med onion, diced
1 1/2 garlic powder, ground cumin, dried oregano, chili powder/Cayenne powder
1 tsp crushed red pepper
1 can chicken broth
2 cans cannellini beans, drained
1 4 oz can diced green chilies
2 cups rotisserie chicken, shredded
1/2 cup heavy cream or 1/2 cup milk

Heat oil in large pot. cook onions until starting to get translucent (5 minutes). Add all the spices and cook together. Add chicken, salt, pepper, chilies and combine. Let chicken cook if necessary (5 minutes). Add broth, drained beans, and cream/milk. Let simmer about 10 minutes, until hot. Add the rice now if you want too. If it is too thick add water until desired consistency.


Wednesday, September 12, 2012

Hiking Mt Washington

Around the Alpine Zone
Off for an expedition! My friend and I decided to hike Mt Washington, Home of the World's Worst Weather! We have been talking about going all summer but scheduling was always in the way.

We grabbed our camping and hiking gear and made our way to New Hampshire. After camping for a night we woke up bright and early to start the adventure! Unfortunately, we started late since I failed at alarm setting. We arrived at Pinkham Notch Visitor Center by 7am.

We knew there was a storm coming and checked the weather before we left the campsite, however we also checked at the visitor center with the rangers who work there. They said we would be ok but the sooner we got to the top and down the better.

7:35 we started! This 4.1 mile hike is estimated to be 8-10 hours round trip. We planned to go up Tuckerman's Ravine and to go down Lion's Head.


Bridge and waterfalls!
Rocky Path
Another waterfall!
1.8 miles
Ravine Floor, note the fog
Some of the path above the Alpine zone
This waterfall was actually to my left
Its steep!


You can see how the trail becomes much steeper. The rocks were also getting wet and slippery with the incoming fog/cloud cover so we have no pictures after this. But as you can see, fairly low visibility.
 It took us 3.5 hours to get to the summit. We stopped and had several snack/water breaks along the way, but we pushed at a decent pace.
 At the summit, the wind was about 70-80 mph and visibility was about 10-20 feet. We stood at the bottom of the rocks where the summit sign is, and you couldn't see the sign. I was very happy that I had taken the Auto Road earlier that summer and had a basic idea of where things (souvenir hut, stairs, ranger station, summit sign...) were at the top. We ate more trail mix and peanut butter sandwiches while we reviewed the map. The wind was increasing and we weren't entirely comfortable with what to do next.

We had talked with people as they were hiking down the mountain to see if conditions were normal or if we should be concerned. At the summit ranger station lots of people were having the same discussion.

We decided to hike down, but when the wind started to blow us off the path a few yards into the trail, we thought better of it. This was disappointing, but we were too uncomfortable with the weather and with our limited knowledge of the mountain. The mountain will still be here next season. So we went to the souvenir hut, bought shuttle tickets, and took the Auto Road back. Don't plan on taking the shuttle back, there are situations where the shuttle isn't running.

What is was our fitness and hiking level?
 I can run almost 3 miles and hiked Mt Monadnock fairly easily. I thought the trail was challenging, but if you go slow it is manageable. The challenge was the constant incline and altitude, as well as the loose rocks. Since I never hiked this mountain before, I was a little uncomfortable with the weather conditions since we didn't know if it was normal or if this was an impending storm situation. I was sore that afternoon and the next day, but it was a dull ache, it wasn't horrible.

My friend was training to run a marathon and is on a whole different level and has been on multi-day hikes before. This was her first time hiking in the White Mountains.

What did we wear/pack?
The least amount of cotton clothing as possible.
Going above the treeline we were instructed to always pack gloves and hats
Bring a map and compass, also know how to use them! Maps are waterproof now too!

I wore nylon spandex pants, hiking boots, wool socks, north face wind breaker, and a tank top.
So in our backpacks: map & compass, flash lights, first aid kit, duct tape, extra wind pants, a fleece and sweatshirt, wool socks, scarf, hat, gloves, 2L of water (you can fill up at the summit), peanut butter sandwiches (2-3), lots of trail mix, about 10 granola bars, and jolly ranchers

Next year... we will be back to hike Mt. Washington round trip!

Tuesday, September 4, 2012

Washington D.C./Gettysburg, PA

Washington, D.C.

We were down on a Saturday during Labor Day. I was very excited because 1) Dan Brown - The Lost Symbol, 2) National Treasure movies, 3) Bones the TV show, 4) Forrest Gump, and 5) I've never been!

US Capitol Building
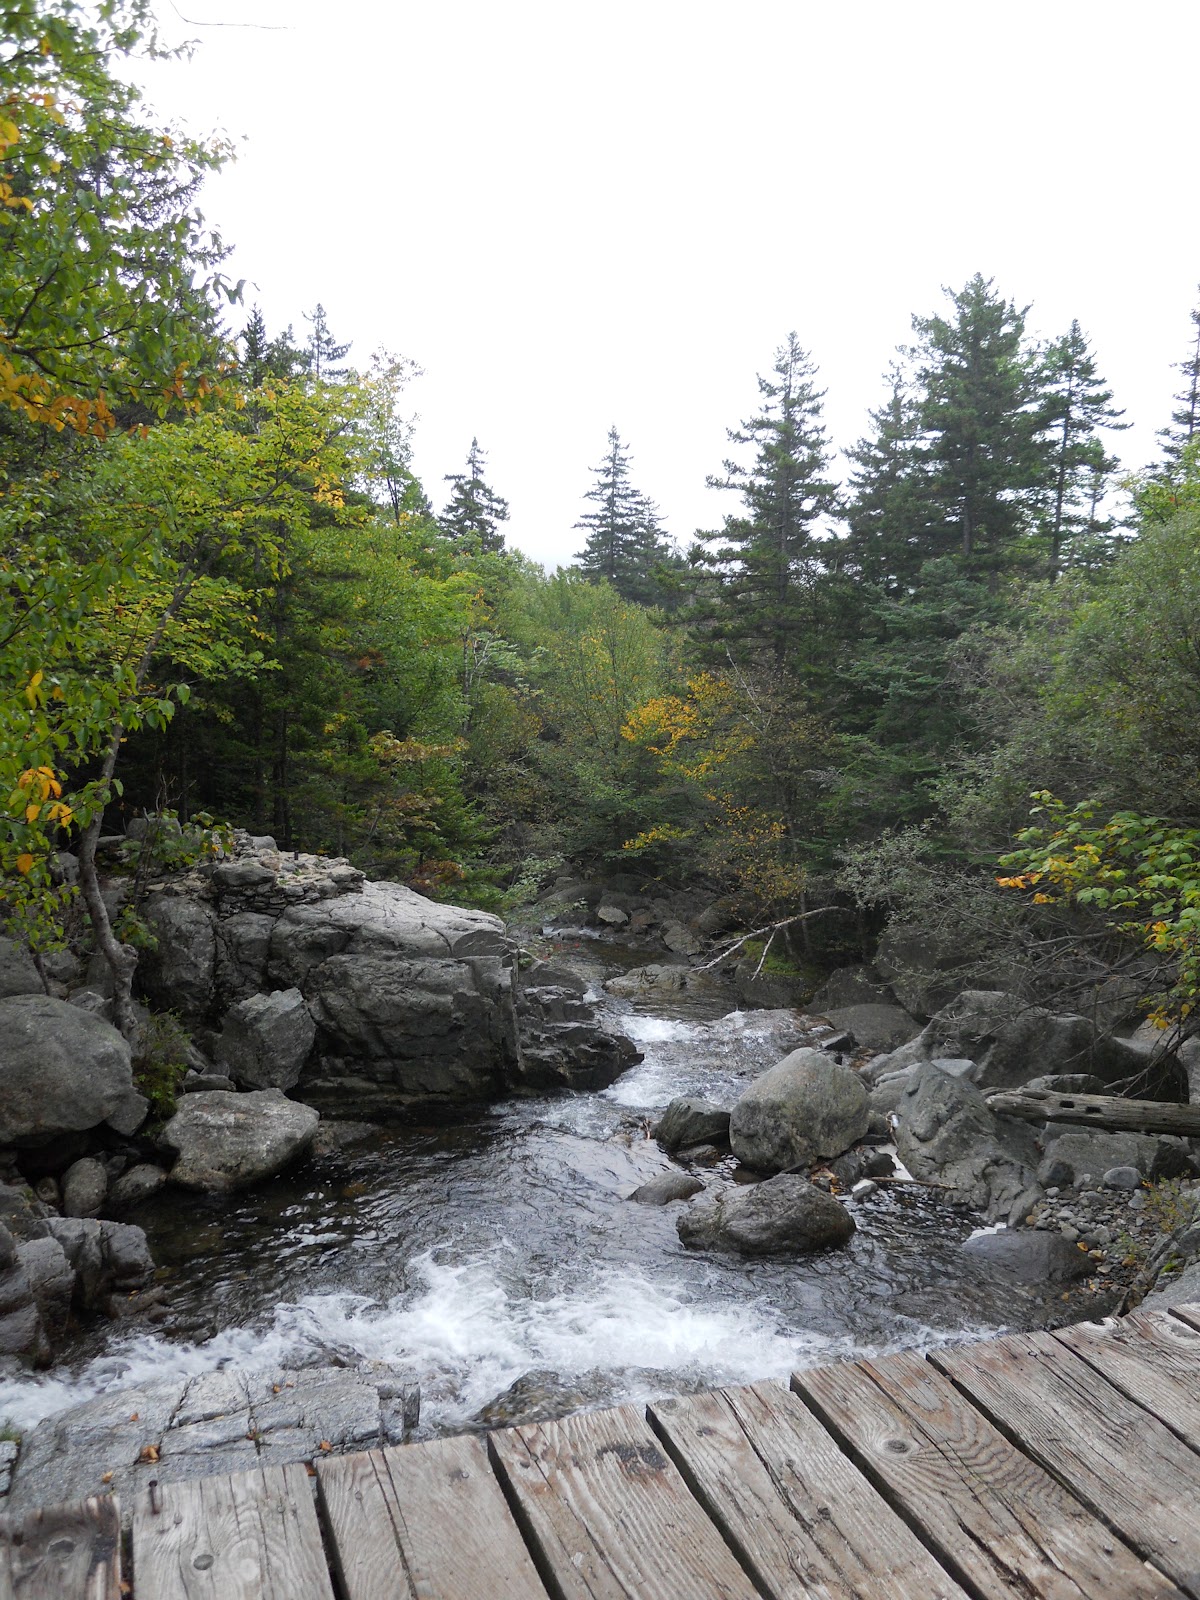
There is so much to do down there that it could easily fill a week. Almost everything is FREE. So aside from transportation and food costs, there is very little to spend extra money on.

Bring minimal stuff, there can be lots of security stops (depending on where you are going) and this will speed the process up.

Wear comfy shoes!!

Transportation: We parked and took the train into DC, Union Station. This was the same/more expensive then driving in, but we are not familiar with the area so we weren't sure about parking. We also didn't know if there would be lots of traffic or if it would be difficult to drive around. The train worked well and also was easy to maneuver for getting back from a different area of DC.

US Capitol - Arrive early as well to reduce the security line, we arrived around 8:40. We were only there for about 40 minutes (including the security) because we didn't take the tour. I'd recommend getting the free tickets for the tour (we decided not to get them since this was our first stop and were unsure of how long the rest of the day would be). With the tour tickets you can see the Rotunda and the National Statuary Hall, and a short intro video.

Library of Congress - It was connected to the US Capitol building so no extra security lines. We spent probably an hour here. You can see the oldest bibles, photo galleries, the room where everyone can study, the statues and decor of the building, and other temp exhibits. We saw the Books that Shaped America, Exploring the Early Americas, Japanese Cherry Blossoms, and a few others. If you do the tour it is commentary on the area/building and other facts. If you are pressed for time and want to poke around on your own, you can still get to all the areas.


Botanic Gardens - There are no lines/security for the gardens. We were there for about 45 minutes to an hour. I was expecting it to be more of a manicured garden and decorated like that. Instead it is a few indoor greenhouses such as desert plants, orchids, food plants, tropical plants, rare/going extinct plants etc. Lots to look at! There is a little garden for walking around outside as well. The special exhibit, Savage Gardens: The Real and Imaginary World of Carnivorous Plants, that wasn't what I was expecting. There was a little information and a person on hand to ask questions, but it wasn't a huge scientific display that I had imagined. Very pretty and has some nice sitting areas to take a break from all the walking so far.


Dire Wolves - less intelligent than real wolves... Game of Thrones lied!
Smithsonian National Air and Space Museum - Short 5 minute line to get into the building/through security. We spent about 40 minutes here. Not quite our thing. Lots of exhibits and information from the beginning of the technological changes. You can walk through a space shuttle, see the astronauts space gear, look at how planes fly, etc. Great hands on exhibits for kids. There is also a Planetarium and an IMAX theater if you wanted to buy tickets for it.

Smithsonian Natural History Museum - We really liked this one. Again no line/quick security & bag check. We were here about 3 hours and went fairly quickly. Fossil exhibits, we saw one on Forensic Anthropology, evolution of humans, ocean/earth development exhibits, gem stones, and many other exhibits.

Jefferson Memorial
National Mall - The last stop on our whirlwind of a day. This was about 2 hours, 3 miles. This is the walk for many of the monuments in DC. I thought the Roosevelt one was really well done. We concluded our tour with walking past the White House.

Food - The important part of the trip! Breakfast was Au Bon Pain at Union Station. Lunch was Quiznos between the Smithsonian museums. Dinner was Chop't Salad. The first two were... alright. There weren't many options for food lunch places. Now this salad place? Great discovery. It has fancy salads mixtures that are to be eaten as a salad or in a wrap.


Gettysburg, PA
This was a short and uneventful trip. We did the auto road which drives around the battle field. You can take a tour, have a tour guide, drive around, or get an tour CD which can play as you drive yourself. I wish we had purchased the CD.

There are several stops with many memorials and informational stands so you can get out and walk around the areas. 

You can get tickets for the tour or purchase the CD at the visitor center. The visitor center also contains a museum and a small exhibit. For a small fee you can go into the museum and see the film about the history of the Battle of Gettysburg.

There is also the National Cemetery which is a walking tour.

We found a great place to eat! Flats is a small restaurant that has sandwiches, pizzas, quesadillas, and so forth on flat breads. Then we went to the Cannonball Malt Shop which is has Turkey Hill (aka not small homemade) ice cream, but it was a nice treat.

Happy Travels!