Showing posts with label baking soda. Show all posts

Monday, February 27, 2017

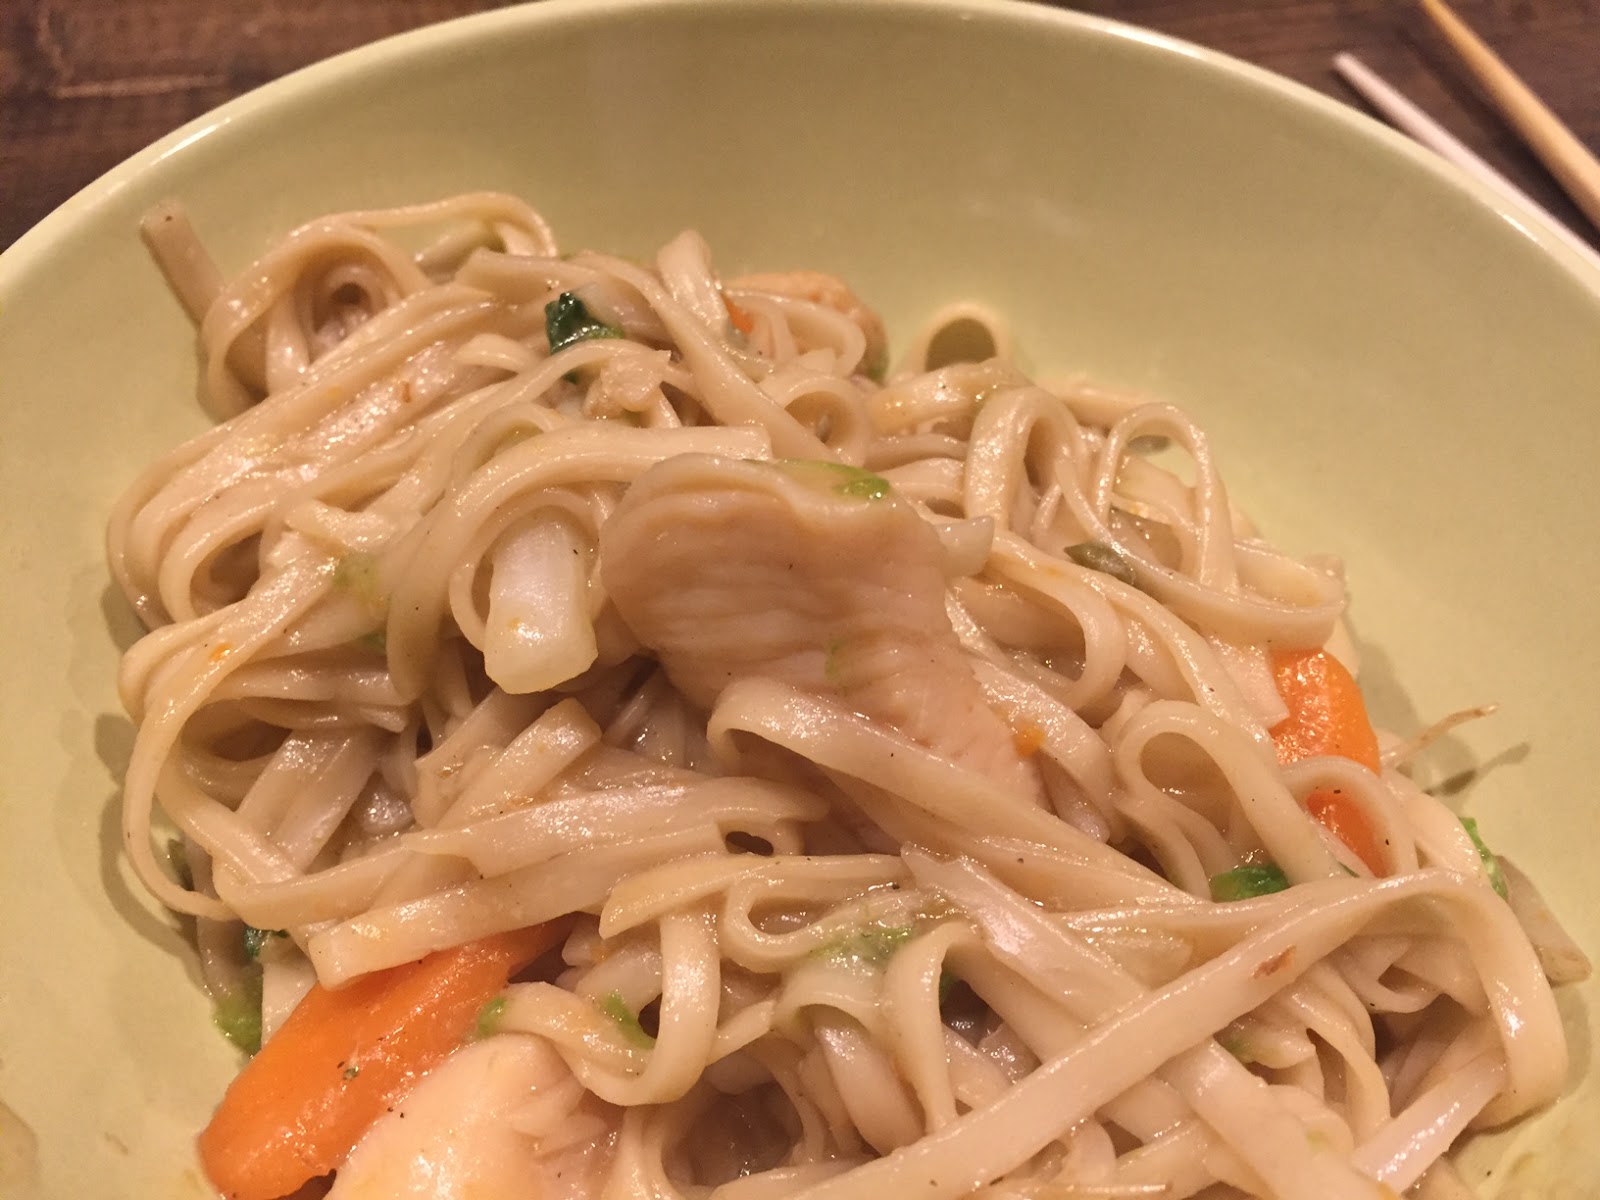
Chicken Chow Mein

We have soooo many Chinese noodles in our house right now! I have been looking for recipes to start to use them up. This one jumped out at me because we had a lot of the ingredients already in the house. I only needed to get cabbage and bean sprouts!

Don't be overwhelmed by the steps, just prep all your ingredients before starting to cook. Things move quick when you stir fry!

I used my large dutch oven pot because when you add the cabbage it gets quite tall and it is easier to mix everything with the higher sides. Often I crowd my pan because I'm making a lot... someday I'll do it correctly. When the pan gets crowded things steam more and won't get as crispy/browned. Things will still cook but it changes the texture a little bit. The recipe below is updated to what I used to feed 2 adults and 2 big kids (pre-teen age kids).

There are a lot of different types of Chinese noodles that you can use. I used regular thin wheat noodles that are similar to a linguine. Dried rice noodles and fresh noodles can also be used too.

I was intrigued by coating the chicken in the baking soda. Cooks Illustrated validated this technique so I continued to follow the directions. It really made a big difference in the chicken breast!! According to other websites make sure you rinse it off and don't let it sit for longer then 15 minutes. 

The cabbage seemed like a lot but wilted down to next to nothing!

Recipe Tin Eats: Charlie Sauce - This is the link to make the larger quantity of sauce to keep in your fridge. This has quite a bit of kick to it. I followed the recipe and only used 1 tsp of the white pepper. I would use 1/2 - 3/4 of a tsp next time. It did seem very salty but I used all low-sodium soy sauce. I am going to investigate the all purpose soy sauce for next time. 

Chicken Chow Mein
adapted from Recipe Tin Eats
Serves: 4-5 adult size portions

4 cups chicken thigh breast, cut into bite size pieces
½ tsp baking soda
1½ tbsp olive oil
16 oz noodles
6-8 cups green cabbage (savoy/green/napa), finely shredded
2 carrot, matchsticks
2 cup bean sprouts
6 scallions, sliced
5 cloves garlic, minced
1 cup water
1/2 cup + 1 tbsp Chow Mein Sauce
Chow Mein Sauce: mix all ingredients
4 tsp cornstarch
3 tbsp soy sauce
3 tbsp oyster sauce
3 tbsp Chinese cooking wine
4 tsp sugar
1/2 tsp sesame oil
1/4 White pepper
  • Combine chicken and baking soda in a small bowl and toss to combine. Set aside for 10 minutes to marinate, then rinse chicken well and pat dry.
  • Pour 2 tbsp of Chow Mein Sauce over the chicken and set aside to marinate for 10 minutes.
  • Prepare the noodles according to the package instructions.
  • Heat oil in wok or large fry pan over high heat.
  • Add garlic and stir fry for 30 seconds until the garlic is golden brown and you can smell the garlic in the oil. 
  • Add chicken and stir fry until the skin is white but the inside is still raw - about 45 seconds to 1 minute.
  • Add the cabbage, carrot, and the white pieces of scallions. Stir fry for 1 - 1½ minutes until the cabbage is just starting to wilt and the chicken is cooked through.
  • Add the cooked & drained noodles, Chow Mein sauce and water. Toss to coat everything in the sauce.
  • Add bean sprouts and remaining shallots/scallions. Stir and remove from heat. Serve immediately

Monday, January 25, 2016

Soft Ginger Cookies

As part of my bridal shower gift people gave me one of their favorite recipes! This is my Auntie Janet's cookie recipe. I made them bite sized but they are great as large cookies too! I would describe them as a soft ginger snap. They are easy to make ahead and travel easily.

These are perfect with a nice cup of tea!


Soft Ginger Cookies
makes 24

2 1/4 cup flour
2 tsp ground ginger
1 tsp baking soda
3/4 tsp ground cinnamon
1/2 tsp ground cloves
1/4 tsp salt
3/4 cup butter
1 cup sugar
1 egg
1/4 cup molasses
2 tbsp sugar

Preheat oven to 350F
Combine flour, ginger, baking soda, cinnamon, cloves, and salt.
In large mixing bowl beat butter on low until softened. Gradually add sugar and beat until fluffy.
Add egg and molasses, beat well.
Stir dry ingredients into beaten mixture.
Shape into 1 1/2 inch balls.
Roll in the 2 tbsp sugar and place on a cookie sheet.
Bake about 10 minutes or until light brown and puffed.
Let stand for 2 minutes before transferring to a wire rack.

Sunday, June 14, 2015

Irish Soda Bread Recipes x3

I had some leftover buttermilk from the Broccoli Slaw and I was thinking of what else I could make... Irish Soda Bread! It is a little late past St. Patrick's Day but it is a recipe I've been waiting to try!

Since I don't do this in parts and I couldn't decide which recipe to make, I decided to make all 3!

I adjusted each recipe for 2 cups of flour and updated all the ingredient measurements. I did not use caraway seeds or the chocolate chips for a more even comparison.

I baked Recipe 1 and Recipe 2 as suggested. I baked Recipe 3 at 350 for 40 minutes. Recipe 1 follows an authentic Irish Soda Bread recipe. Recipe 2 was sweeter and moister. Recipe 3 was similar to a biscuit texture.

For a different variation use chocolate chips for the raisins.

If you give them a try let me know what you think!

Below are the original recipes:

Recipe 1
2 cups flour
1 1/2 tsp baking powder
1/4 tsp baking soda
1/4 tsp salt
1/2 cup raisins
1 cup buttermilk
1 tsp Caraway seeds (Optional) or 1/2 cup chocolate chips (Optional)

Combine all ingredients in a bowl. Put the dough on a well floured surface and knead until no longer super sticky. Place on a cookie sheet and slice the top lightly with an "X"

Bake 10 minutes at 375 and then 40 minutes at 350.

Recipe 2 followed Recipe 1 without the salt but the addition of sugar, eggs, and melted butter. I didn't use the caraway seeds. However, the recipe called for "T" and "t" which I didn't realize until after that "T" means Tablespoon and "t" means teaspoon. So the recipe wasn't followed as closely as planned, at least I can't remember. At any rate...

Recipe 2

3 cups flour
1 tbsp baking powder
1 tsp baking soda
1 1/2 cups raisins
2 cups buttermilk
1/3 cup sugar
2 eggs, beaten
2 tsp melted butter
1 tbsp Caraway Seeds (Optional) or 1/2 cup chocolate chips (Optional)

Combine all ingredients in a bowl. Grease and flour the cake pan. Pour batter into the pan.

Bake 45 minutes at 350.

Recipe 3 follows closely to Recipe 2 but calls for the butter to be cold instead of melted and for 1 egg instead of 2 eggs and no baking powder. There is also a difference in the flour to buttermilk ratio. I didn't use the orange zest.

Recipe 3

4 cups flour
1 tsp baking soda
1 1/2 tsp salt
1 cup raisins
1 3/4 cups cold buttermilk
4 tbsp sugar
1 egg, beaten
4 tbsp cold butter, cut into pieces
1 tsp grated orange zest (optional)

Combine all ingredients in a bowl. Put the dough on a well floured surface and knead until no longer super sticky. Place on a cookie sheet and slice the top lightly with an "X"

Bake 45 minutes at 375.

Saturday, October 11, 2014

Peanut Butter Cookies

Cookie time! I made this recipe with some homemade peanut butter. But other then that it is a very basic cookie dough and most people will have all the ingredients on hand.

I used a small cookie scoop so these cookies are all bite sized. I'm not sure why but I almost always make cookies that are small. But between the size and the sticky dough, the criss cross pattern was not meant to be. The recipe recommended rolling the cookies in granulated white sugar then doing the criss cross. If I did that, I would have reduced the white sugar in the cookies to 3/4 cup. But rolling the cookie in the sugar would have prevented the fork from sticking. Another thought that I think could have helped was if the cookies were larger and the fork was floured or buttered. 

Long story short, instead of making the fork prints - I gently pressed them flat with my fingers. That means I touched EVERY COOKIE! Touch it you take it, right?

Since I didn't want to wait 3 hours to chill the dough so I put it in the freezer for 30 minutes then popped it in the fridge for another 15 while I waited for the oven to free up. Yes, I would love to have double ovens in my kitchen!

What was interesting was the difference in the cookies with chilled batter vs not chilled batter. In this picture the top left is the 1st sheet from the fridge, top left is the 1st sheet without the criss-cross, bottom left is the 2nd round of cookies. Then I put the dough in the fridge between the 3rd and 4th cookie. Taste didn't change but the look certainly varied.

Regardless, these cookies didn't spread very much and I was able to fit 20 cookies on a regular sized cookie sheet.

The recipe said they would look kind of underdone when I take them off the sheet so I probably overcooked them, but we all thought they were great! I cooked them for 12 minutes.

The recipe below is adapted from Sally’s Baking Addiction. The site says that the cookies will store at room temperature for up to one week and that the baked cookies or dough will freeze for up to 3 months.

Peanut Butter Cookies
Makes 80 small cookies

1 cup unsalted butter, softened to room temperature
1 cup granulated sugar
3/4 cup light brown sugar
2 large eggs, room temperature preferred
2 tsp vanilla extract
1 cup creamy peanut butter
3 cups + 2 tbsp all-purpose flour
1 tsp baking soda
1 tsp baking powder
1/2 tsp salt

Using a stand mixer with paddle attachment, cream the butter and sugars until smooth. Add the egg and mix on high until combined, about 1 minute. Scrape down the sides and bottom of the bowl as needed. Add the vanilla and peanut butter and mix on high until combined. Set aside.

In a separate bowl, toss the flour, baking soda, baking powder, and salt together. Add the dry ingredients to the wet ingredients and mix on low until combined. Dough will be thick, yet very sticky. Cover dough tightly and chill for at least 3 hours in the refrigerator.

Preheat oven to 350F degrees. Line two large baking sheets with parchment paper or silicone baking mats.

Press fork into the tops to create the criss-cross pattern. Bake for 12 minutes or until very lightly browned on the sides. The centers will look very soft and undone. The cookies will continue to "set" on the baking sheet during this time.